
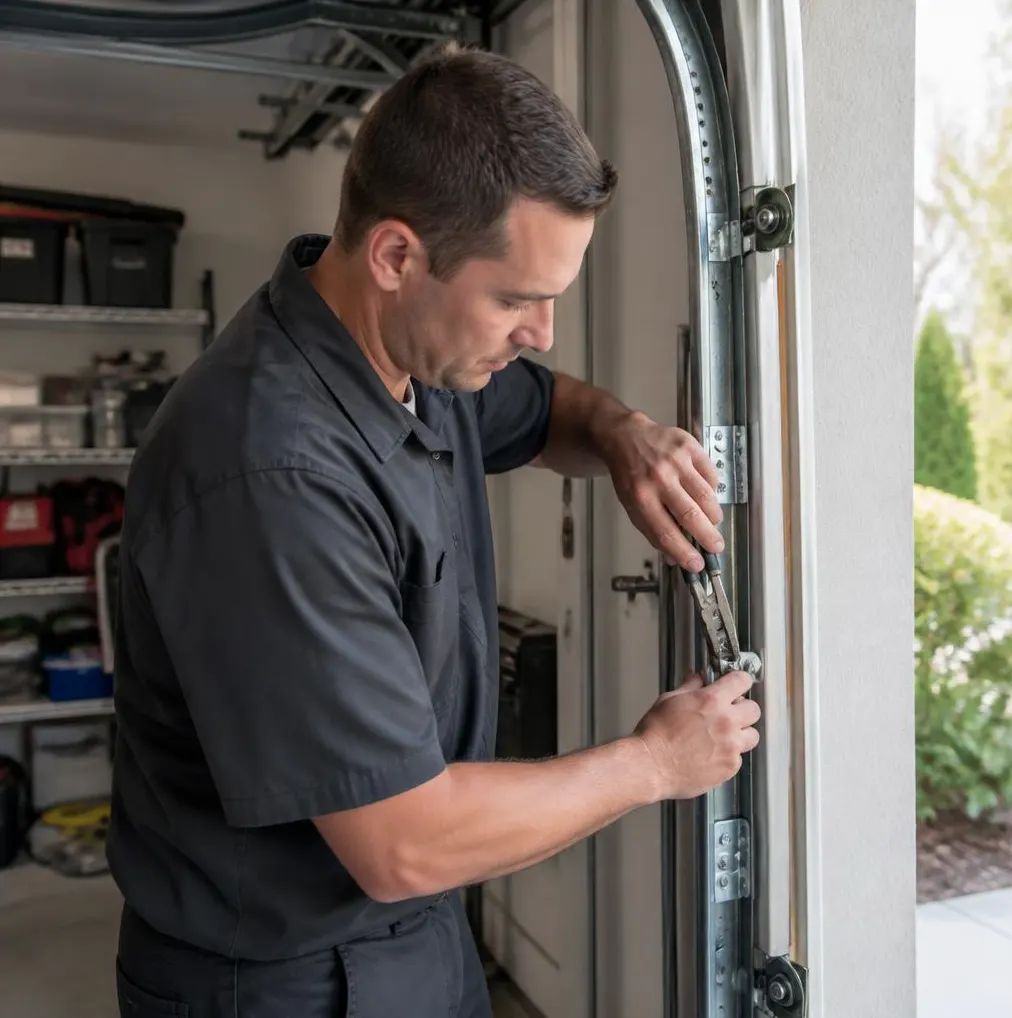
The first thing most homeowners do when they notice daylight under the garage door is grab a tube of caulk or a roll of cheap foam weatherstrip from the hardware store and press it along the bottom edge. It's tempting because it's inexpensive, it takes ten minutes, and it looks like it closes the gap. The problem is that caulk cracks and peels after a season of the door opening and closing over it, and generic foam strips don't match the retainer channel built into the bottom of most garage doors. They compress, tear loose, or slide out within a few weeks, and you're right back where you started — except now there's old caulk residue and foam scraps to clean up too.
A proper bottom seal and weatherstripping job isn't complicated, but it does need the right part and a little patience. Here's how to do it right.
What Bottom Seals and Weatherstripping Actually Do
A garage door has three separate weather barriers, and they wear out differently:
- Bottom seal (astragal): the rubber or vinyl strip that slides into the retainer track along the bottom edge of the door. This is your main defense against water, dust, and crawling pests.
- Side and top weatherstripping: the vinyl flap or bulb trim nailed or stapled to the door frame itself, which closes the gap between the door panel and the jamb.
- Threshold seal (optional): a strip adhered to the garage floor for driveways that slope or have an uneven slab, giving the bottom seal something flush to press against.
All three dry out and crack with repeated sun exposure and temperature swings, which is exactly what Central Valley garages see — hot, dry summers followed by cold, wet winters.
Tools and Materials You'll Need
- Tape measure
- Utility knife
- Flathead screwdriver
- Replacement bottom seal matched to your retainer profile (T-style, bulb, or beaded — check your existing seal or track shape before buying)
- Vinyl flap weatherstripping for the side and top frame, if needed
- Dish soap and water (as a lubricant) or a dedicated rubber lubricant
- Rags, broom, shop vacuum
- Hammer or staple gun, if your frame trim is nailed rather than stuck on
Step-by-Step: Replacing Your Bottom Seal
- Identify your track profile. Pull a short section of the old seal out and look at the shape of the bead — it's either a T-end, a bulb, or a double-flap. Bring a piece with you to the store, or measure it, so you buy a matching replacement. The wrong profile won't stay in the channel.
- Measure the door width and buy a seal a few inches longer than needed; you'll trim it later.
- Open the door about halfway so you can reach the full bottom edge comfortably.
- Remove the old seal by pulling it out of the track from one end. If it's stuck, work a flathead screwdriver gently along the channel to loosen it. Clean out the track with a rag or vacuum — dust, dead insects, and gravel build up here and will stop the new seal from seating properly.
- Lubricate the new seal's bead with soapy water. This sounds unnecessary but makes a huge difference — dry vinyl is stiff and hard to thread through a channel.
- Feed the new seal into the track from one end, working it through in short sections rather than trying to force the whole length at once.
- Close the door and check the fit. Trim any excess at the ends with a utility knife, leaving a small overhang rather than cutting it flush.
Step-by-Step: Refreshing Side and Top Weatherstripping
- Inspect the trim along the door frame for cracking, brittleness, or gaps where it's pulled away from the wood.
- Remove old nails or staples and pull the strip free.
- Position the new strip so the flap overlaps the closed door by about a quarter inch — enough to seal without dragging on the panel as it moves.
- Nail or staple every 12 inches or so, working from one end to the other and checking the overlap as you go.
The Flashlight Test
Once everything is installed, close the door, turn off the garage lights, and have someone stand outside while you shine a flashlight around the full perimeter from inside. Any light they can see from outside is a gap that's still letting in drafts, dust, or water. Small gaps at the very corners are normal; a visible line of light along the bottom or one side usually means the seal isn't seated correctly — or that the door itself isn't hanging level.
What's DIY and What Needs a Technician
Replacing a bottom seal, swapping out brittle side and top weatherstripping, and running the flashlight test are all well within reach for a homeowner with basic tools and about an hour. Where it's time to call in help: if the new seal still gaps unevenly after installation, if the bottom seal wears unevenly from one side to the other, or if the door doesn't sit flush across the full width when closed. Those symptoms usually point to a bent track, worn rollers, or a door that's drifted out of alignment — not a seal problem at all, and pushing harder on the weatherstripping won't fix it.
When to Call Kingsburg Garage Door
If you've replaced the seals and you're still getting dust, draft, or water intrusion, it's worth having a technician take a look before winter rains settle in. We can check track alignment and roller condition as part of a preventive maintenance visit, and handle garage door repair if the door itself needs adjustment to sit level against a new seal. Catching an alignment issue now is a lot less costly than replacing a door panel later.
If drafts, dust, or standing water near your garage door have you reaching for more caulk, give Kingsburg Garage Door a call. We serve Kingsburg, Selma, Fowler, Parlier, Reedley, Dinuba, Sanger, and Fresno, and we're happy to take a look before the rain really starts.